

Today I did some casual dyeing to add a little color to my kitchen. For this project, I didn’t have any particular results in mind, and I wanted to only use supplies that I already had laying around. This was essentially an experiment, so I decided to document each step and record my results.
For simplicity’s sake, I decided to dye the fabric in my washing machine. My typical preferred dye method is on a stovetop, which can give you much more precise results. But since I didn’t need precision today, I decided to skip the mess and extra work and just toss everything into the machine. When you use your washing machine to dye, don’t forget to run an empty load with bleach afterward to clean out your machine.
My curtains came from the thrift store, with no tags to denote the fiber content, so I was flying blind when it came to determining which dye to use. I happened to have some Kelly Green dye from two different brands: RIT and iDye poly. The RIT is more universal, and the fabric appeared to be cotton, so it seemed like a good place to start.
I totally forgot to take a “before” picture of the curtains, but they were white with a light gray trim and decorated with yellow and orange embroidery.
Round one: RIT Kelly Green
I filled the washer with hot water on a small load setting. I had about third of a bottle of dye, which I mixed in with a stick along with a quarter cup of salt, before adding the pre-wet fabric. I kept an eye on the washing machine and turned the dial back once on the agitation cycle in order to give it more time to absorb pigment before rinsing.
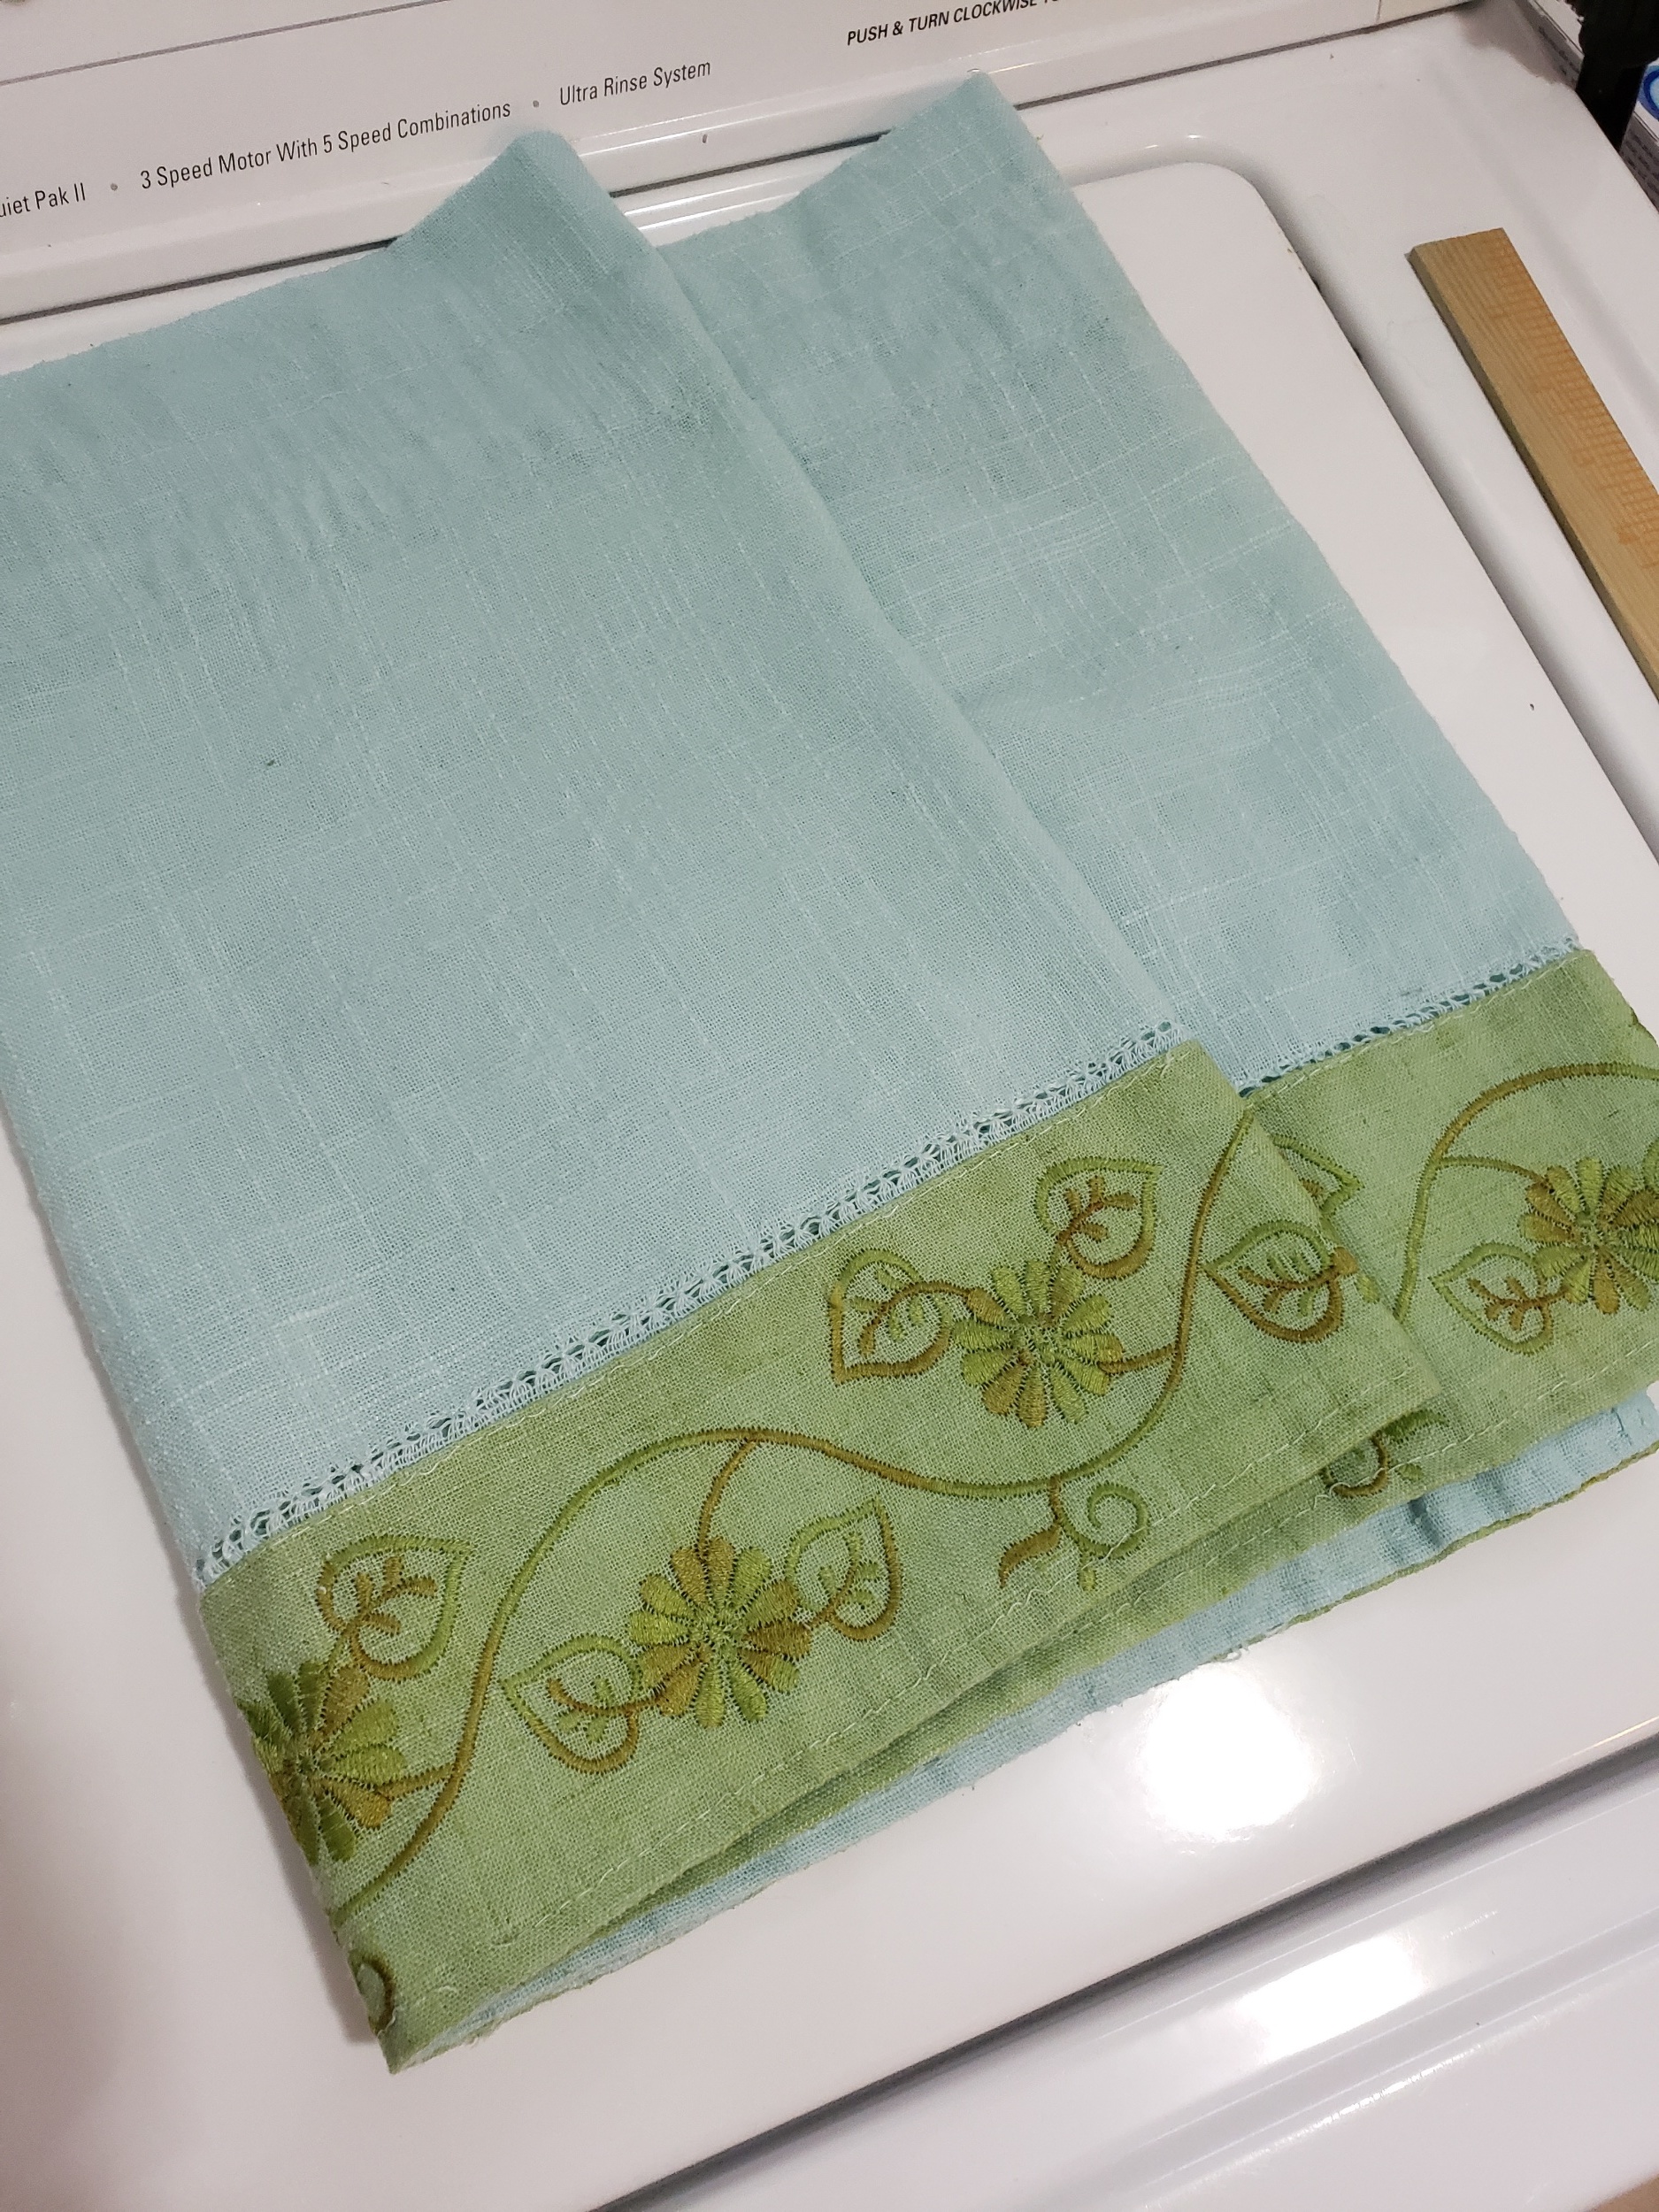
After the complete wash cycle, I pulled everything out to check the results. The trim around the bottom of the curtains became a vibrant kelly green, while the main fabric only absorbed a small amount of dye that looked more blue than green. The dramatic difference between the two fabrics suggests that the upper fabric might be synthetic or blended fiber. So with that in mind, I decided to give it a second run with the iDye poly. The fabric below was photographed wet.

Round Two: iDye Poly Kelly Green
My goal for round two was to balance the color tone between the top and bottom, so that it was less blue-green and more green-green.
Once again, I filled the washer with hot water on a small load setting. This time, I added my dye and a packet of color intensifier (which comes with the dye). I did not measure the exact amount of dye used, but it was less than one full packet. I did not reset the wash cycle this time, so the fabric was submerged in dye for slightly less time than the last round.
Sure enough, the fabric which had been too-blue before was now a much closer match to the bottom trim. I wasn’t aiming for an exact match (which would be difficult without separating the fabrics) but I wanted a slightly more cohesive look overall. In that sense, round 2 succeeded. The fabric below was photographed wet.


Results
Nothing’s official until the fabric is heat set and dry, so here’s how that looked in the end. I ran them through a normal cycle in my dryer, and afterward the color variations turned out to be much more subtle than they appeared when wet. It’s hard to tell exactly how something will come out until it’s dry, which can make the dye process very tedious. But if you’re willing to do a little trial-and-error and proceed with an open mind, dyeing fabric can be an easy and accessible way to add some color to your life.


Also featured in this post:
As a part of the Amazon Influencer program, purchases made from these direct links will support this site.